Migration guide
How to migrate from Codeanywhere to ServerDesk
Codeanywhere closes on July 1, 2026. This guide walks you through collecting your server details, creating a ServerDesk account, testing the SSH or SFTP connection, opening Explorer and Terminal, and using Robbie for migration help.
Important: June 30 is a hard deadline — access to your Codeanywhere files ends permanently on July 1, 2026. Do not wait until the final days to export.
- 1
Collect your server details and export your project
Start by preserving the code and credentials you will need after Codeanywhere shuts down. Git is the cleanest route when it already exists, but a direct file export also works.
terminalgit init # if not already a Git repo git add -A git commit -m "Export from Codeanywhere before shutdown" git remote add origin <your-repo-url> git push -u origin main
- If you do not have a remote repository, create a free private repo on GitHub, GitLab, or Bitbucket first.
- For projects not in version control, a single commit with everything is fine — you can clean up history later.
- 2
Download files from your DevBox or container
Files that exist only inside Codeanywhere containers will not survive the shutdown. Use the built-in SFTP access or the file manager to download them now.
terminal# From your local machine, using sftp: sftp <codeanywhere-hostname> get -r /home/user/your-project ./local-backup
- Pay special attention to files outside your project directory — build artifacts, compiled binaries, or uploaded assets.
- If SFTP is not available, use the Codeanywhere terminal: zip -r backup.zip /home/user/project and download via the file manager.
- 3
Check for .env and hidden config files
Environment files and dotfiles are commonly overlooked in migrations. Check for these explicitly.
terminal# List all hidden files in your project: ls -la # Common files to check: # .env, .env.local, .env.production # .htaccess, .npmrc, .gitignore # .ssh/config, .ssh/authorized_keys
- Do not commit .env files to Git — keep them as a secure backup on your local machine.
- Note any API keys, database passwords, or secrets that you will need to re-enter when setting up the new server connection.
- 4
Note your server hostnames and SSH credentials
If Codeanywhere stored your SSH connection details, copy them out before the shutdown. You will need these to connect ServerDesk to the same servers.
- In Codeanywhere, go to Settings → SSH → SSH Keys and download or copy any keys stored there.
- Note: your Codeanywhere DevBox container itself will be gone after July 1. The external servers you connected to will still exist.
- If you connected to a VPS or shared host, those servers remain yours — only Codeanywhere's access layer is going away.
- 5
Create a free ServerDesk account
Sign up at serverdesk.dev — no credit card required. The free plan includes one server connection with file browsing, editor access, and terminal.
- If you are moving from Codeanywhere, use coupon code CODEANYWHERE at checkout for 50% off your first 3 months on any paid plan.
- Valid for new accounts created before July 1, 2026.
- 6
Add your SSH or SFTP connection in ServerDesk
In the ServerDesk portal, click Add Server and enter the connection details for your real server.
- You will need: hostname (or IP address), SSH port (usually 22), username, and either a password or SSH private key.
- For shared hosting, use the SSH access details from your hosting control panel (cPanel, Plesk, etc.).
- For a VPS, these are the same credentials you would use with any SSH client.
- 7
Test the connection, open Explorer, and verify your project files
Once connected, test the connection, browse the file tree, confirm you are in the correct root path, and use the editor and terminal to verify the project is where you expect.
terminal# Verify your connection in the ServerDesk terminal: pwd ls -la git log --oneline -5 # if your project is in Git
- The editor supports syntax highlighting for PHP, JavaScript, Python, YAML, and dozens of other formats.
- Use the split terminal to run two commands side by side — useful for watching logs while editing files.
- 8
Use Robbie to understand the migrated project
If you inherited code or are working with an unfamiliar codebase after migration, Robbie can answer product questions immediately and use AI credits only when you need deeper analysis.
- Open a file and use Ask AI → Explain this file to get a plain-language summary.
- Select a function or block and use Explain selection for a focused explanation.
- For legacy code: AI → Project context gives a high-level overview of the project structure.
First 10 minutes
What a fast migration looks like
Minute 1
Create the account and confirm the server hostname, port, username, and key or password.
Minute 2
Add the connection and run the test before saving anything permanent.
Minute 3
Open Explorer and Terminal, then confirm the project root with pwd and ls -la.
Minute 4
Ask Robbie to explain an unfamiliar file, config, or terminal error if the project is not immediately obvious.
How the migration works
Connect your existing server in minutes — nothing to reinstall
ServerDesk connects to the same SSH and SFTP server you already manage. Add your credentials, run the connection test, and your files are in Explorer immediately.
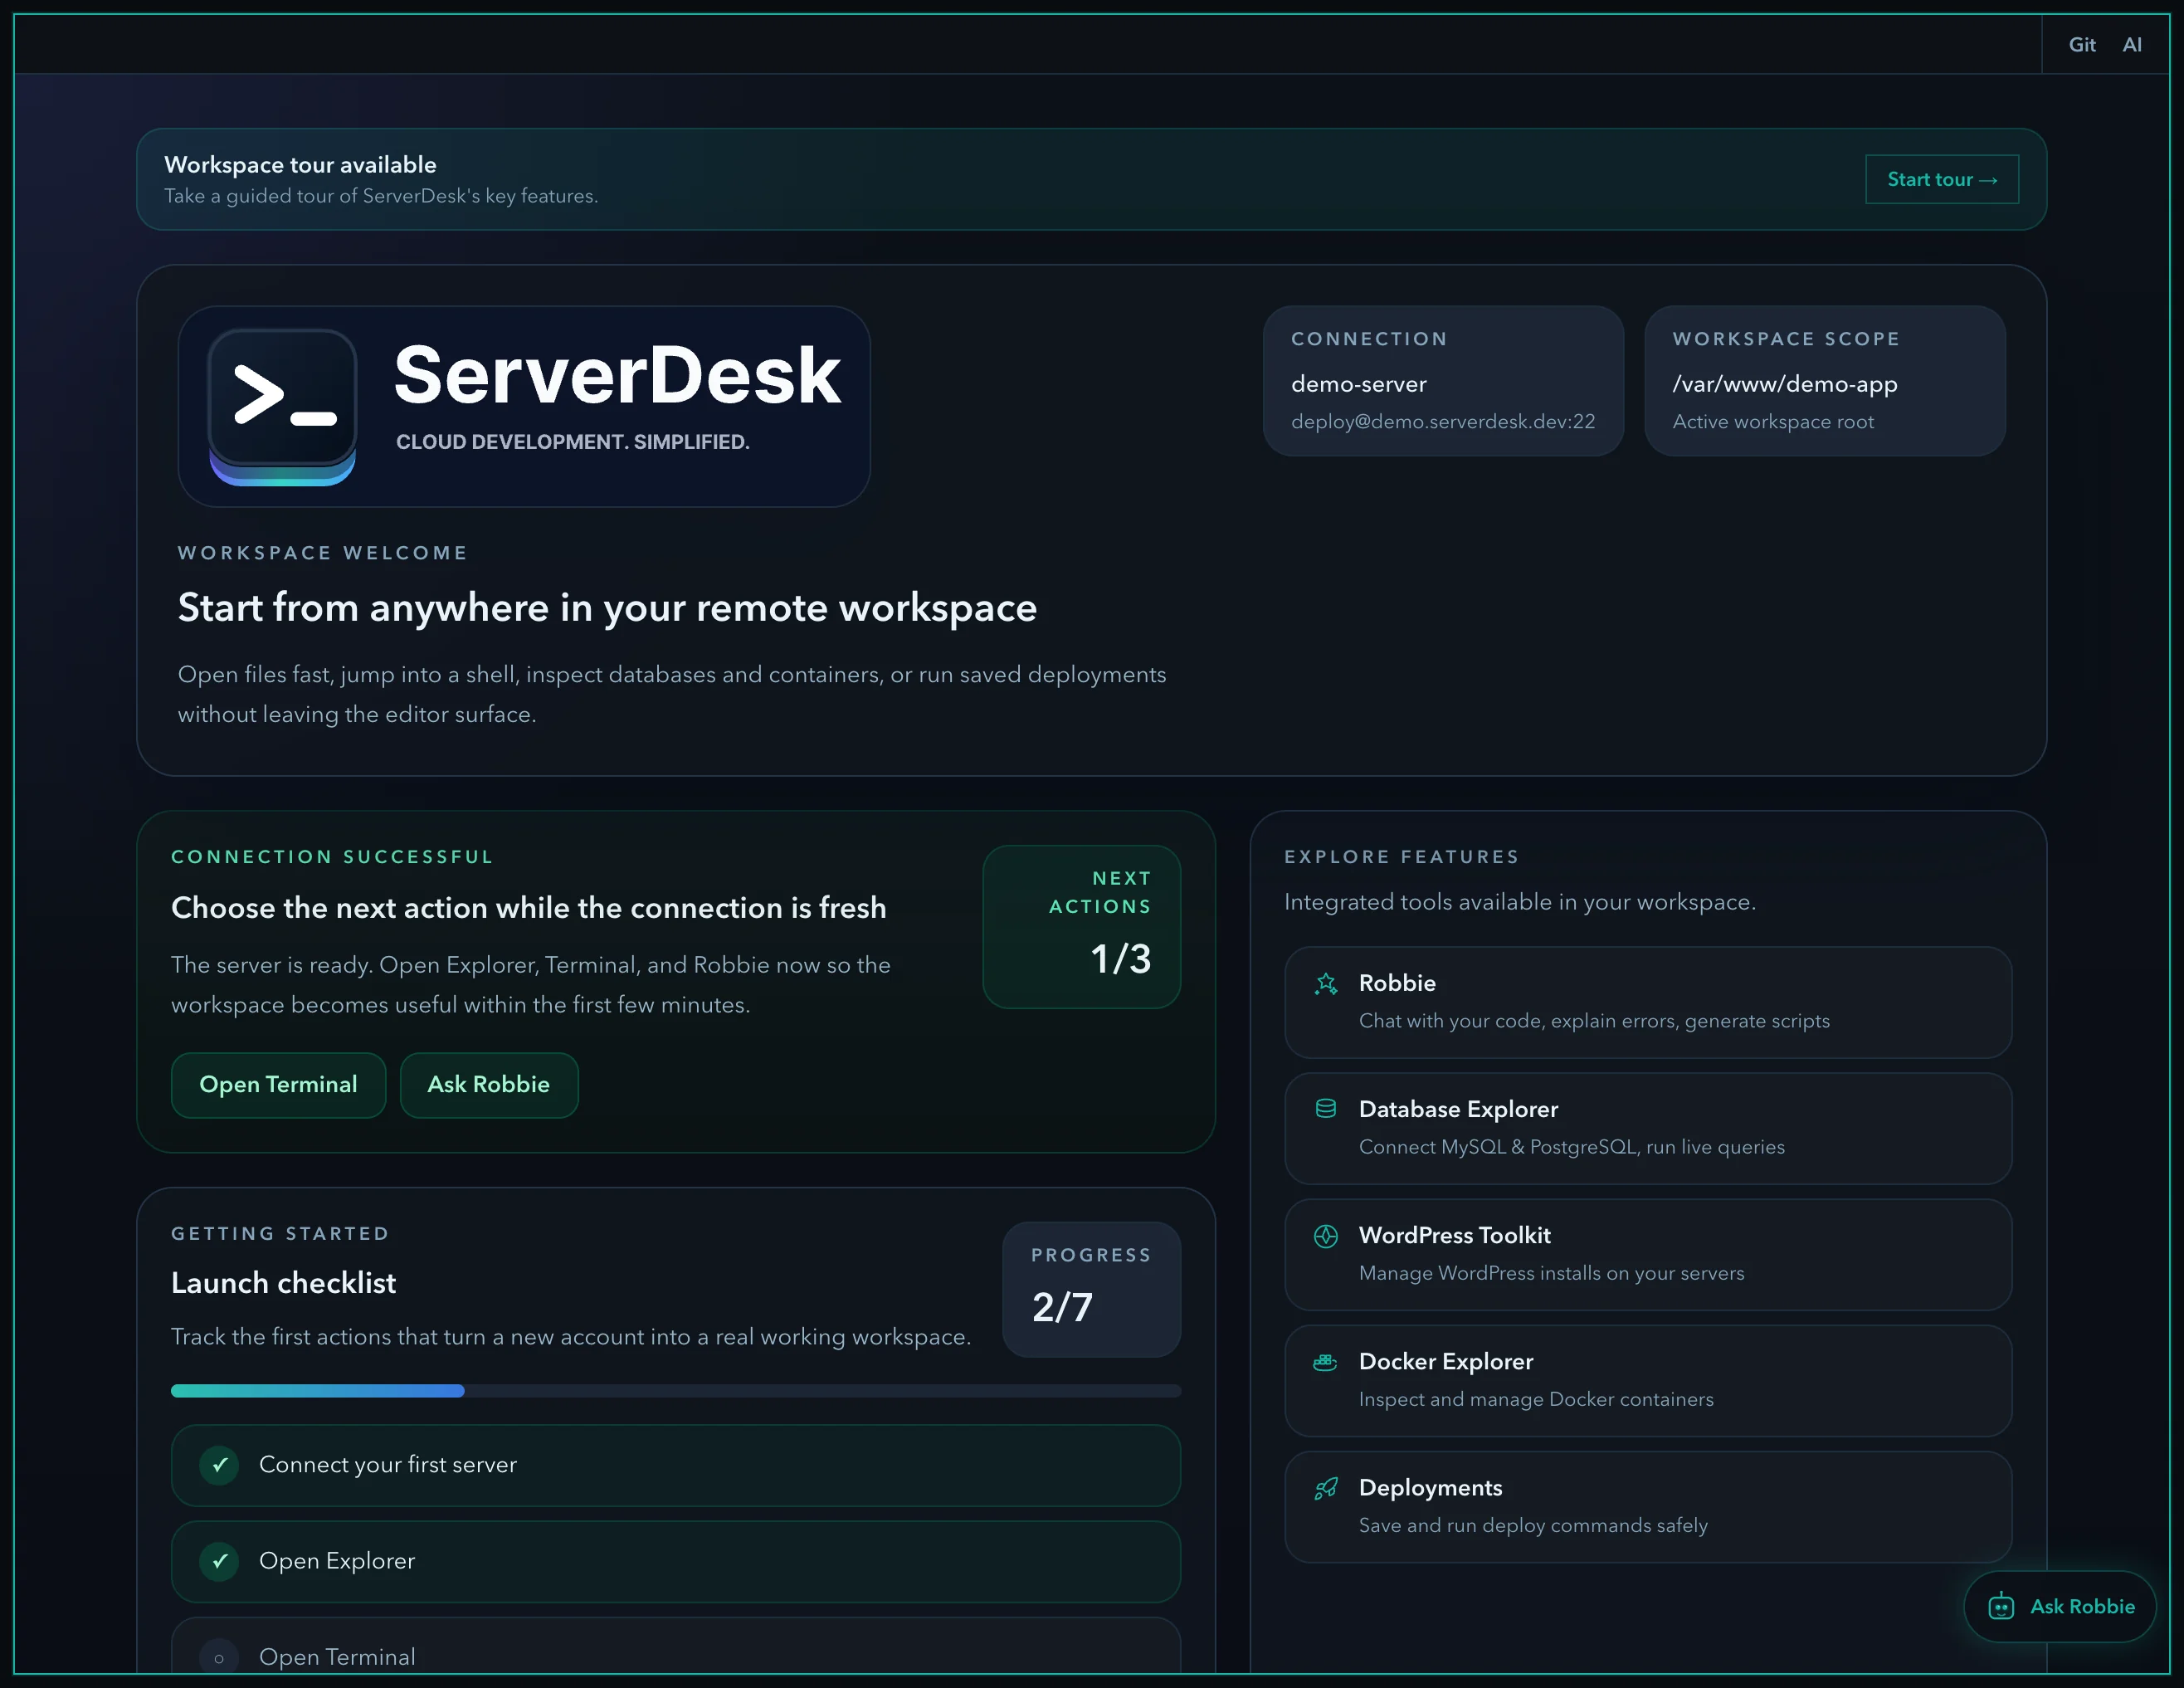
Animated migration demo
The first migration win should happen in minutes
A successful switch feels simple: connect the server, confirm the path, then use Robbie for orientation if the codebase is unfamiliar.
Prepare
The fastest migrations are the ones that preserve hidden files, environment values, and the exact SSH details before the old workspace disappears.
Connect
ServerDesk proves the new connection works before the user relies on it for daily work.
Orient
Once the server is connected, Robbie can explain files or terminal output without pretending to be the migration itself.
Active step
Collect files, hidden config, and SSH details first
The fastest migrations are the ones that preserve hidden files, environment values, and the exact SSH details before the old workspace disappears.
Checklist · export files · check .env · copy SSH key
Confirm the real server hostname and username
Keep secrets out of Git history
Store a local backup before switching tools
Keep these open while migrating
Migration help for the next practical question
Most switchers do not need more theory. They need the next exact guide: how to move files, how to reconnect SSH, how to verify the project in Explorer and terminal, and how Robbie fits without wasting credits.
Migration FAQ
Fast answers on exports, hidden files, existing servers, plans, and what to do if the connection test fails.
Open guide →First 10 minutes
A short post-signup checklist that gets a switcher into Explorer, terminal, and Robbie quickly.
Open guide →Move files safely
Preserve Git history, uploads, dotfiles, and environment-specific assets before shutdown day.
Open guide →Reconnect SSH or SFTP
Reuse the real server you already manage rather than rebuilding the entire environment.
Open guide →Explorer for switchers
Orient yourself in the remote file tree and keep the right working set visible during the move.
Open guide →Terminal for switchers
Validate the project path, inspect logs, and troubleshoot safely before making changes.
Open guide →Robbie migration assistant
Understand what Robbie answers for free and when deeper code or terminal analysis uses AI credits.
Open guide →Codeanywhere migration offer
50% off your first 3 months
Valid on any paid ServerDesk plan. New accounts only. Use at checkout before July 1, 2026.
Coupon code
CODEANYWHERE
Copy this code and use it during checkout for 50% off the first 3 months.
Migration FAQ
Do I need Git to move from Codeanywhere to ServerDesk?
Git is the safest path if your project is already version controlled, but it is not required. You can also download your files directly, move them to your server, and then connect that server to ServerDesk.
What do I need to export before the Codeanywhere deadline?
Export your project files, hidden config files, environment values, SSH keys, and any server credentials you stored in Codeanywhere. The deadline to finish that export is June 30, 2026.
Can ServerDesk import Codeanywhere containers directly?
Not yet. Push to Git or download your Codeanywhere project first, then move it to your server and connect that server to ServerDesk.
Troubleshooting
If the connection test fails
Need help with your migration?
If you run into issues exporting from Codeanywhere, connecting a server, or understanding an unfamiliar codebase, reach out. We will help.